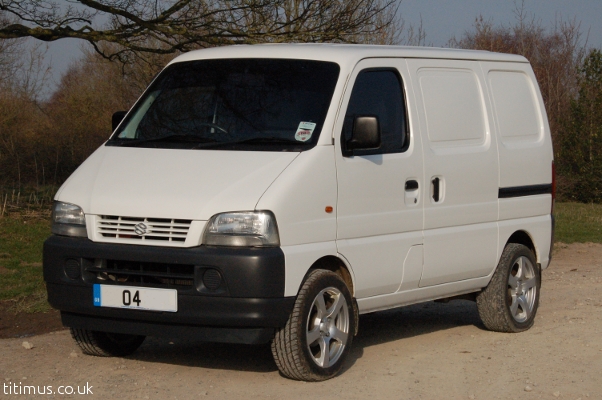
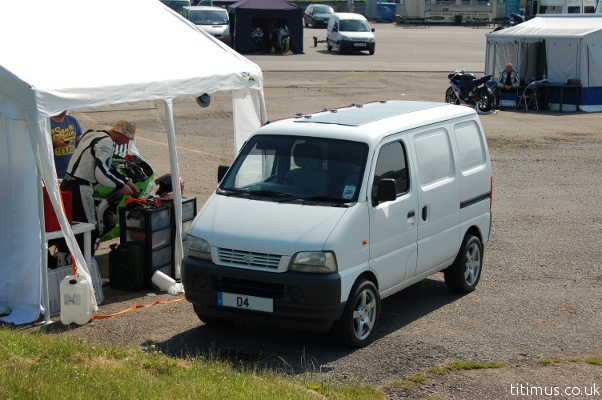
The following article describes the conversion of a 2004 Suzuki Carry van into a camper/day van. The base vehicle is a bog standard van with just 16,000 miles on the clock.
Wheels and Exterior
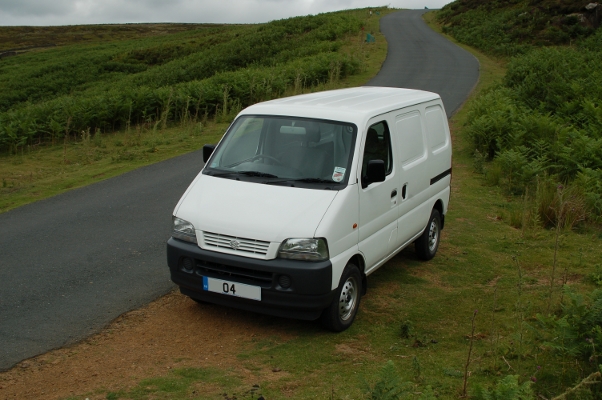
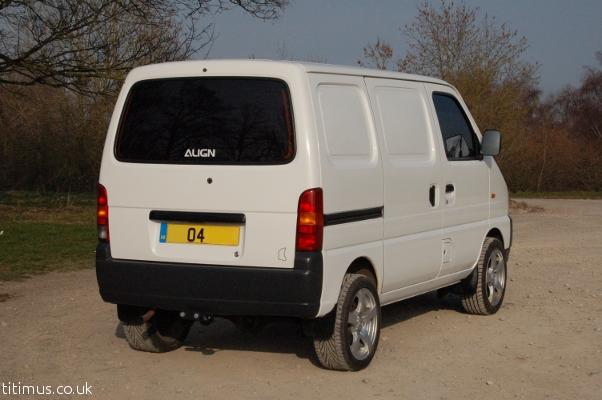
To widen the track and give a bigger tyre contact area 15x6 alloy wheels are fitted, which vastly improves handling and looks. Privacy film is then applied to the windows. The front doors have a light tint to allow better visibility. On the tailgate dark tint is used as this window will be blocked and insulated from inside. To allow good rear vision a reversing camera is concealed in the tailgate and connected to a monitor mounted to the rear view mirror.
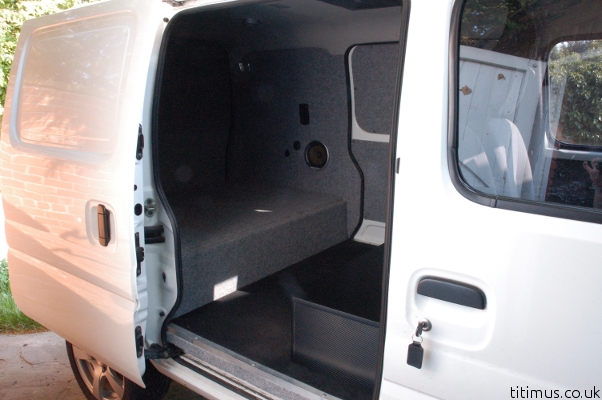
Floor and Insulation
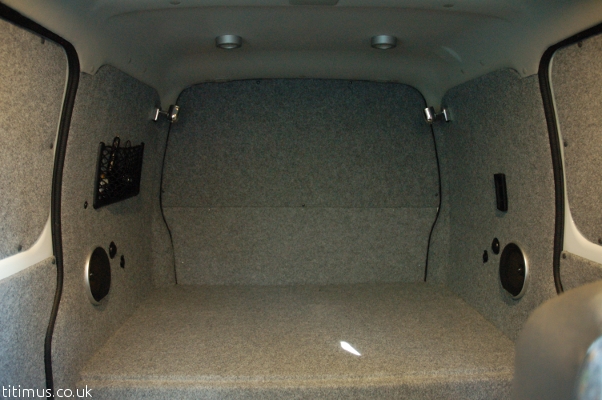
To make the most of the available space a section of the floor which would have housed a heater in the car version of the Carry is removed. The remaining part of the rear floor has battens fitted to raise it to a comfortable seating height. 15mm lightweight ply from Magnum Motorhomes is screwed on top. The gaps between the ply and the floor are used for storage and insulation, accessible from the rear. The lower floor is measured up and fitted with anti-mould treated 18mm hardwood ply. Gel backed automotive carpet is glued on top and edges protected with aluminium angle.
Once all the wiring is in place and the 14" flip down TV is securely mounted to the roof the sides can be ply lined. A ready cut ply lining kit from Plyline North East was used as a good starting point. Getting it to fit neatly requires some modification. After cutting speaker holes and making the rear sides fit flush the ply is screwed and glued to battens using Sikaflex silicone adhesive to stop any creaks or rattles.
Before fitting, the metal sides of the van were painted with sound deadening paint then covered in a layer of self adhesive sound insulation, followed by foam underlay and finally recycled plastic woolly insulation. This makes a vast difference to how the doors feel and sound when opened and closed. More of a thud than a clang. Noisy generators or heaters running late at night are of no issue and can barely be heard from inside the van. Felt lining from Magnum Motorhomes is stuck using spray adhesive.

All the lights have LED bulbs fitted which give a lot of light for very little power consumption. The roof mounted spot lights are 3 watt and much brighter than the 10 watt halogen bulbs they replaced. The two rear side mounted reading lamps have remote controlled colour changing bulbs. These are dimmable so can be set to a low level and left on all night if required.
Storage and Bed
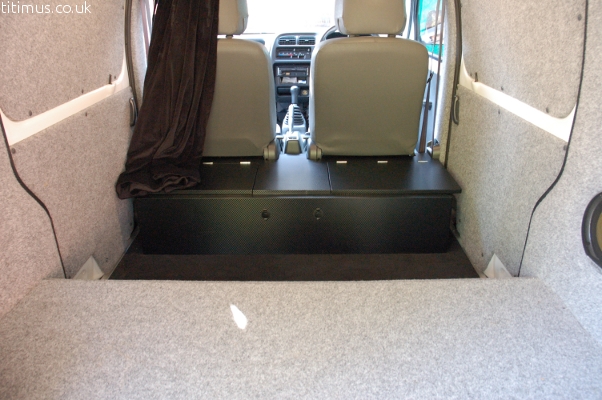
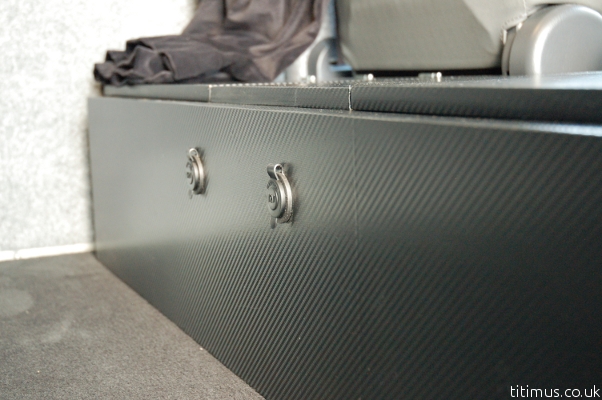
More 15mm lightweight ply is used to make storage boxes behind the front seats. The centre section is boxed in to make a hidden space for wiring and electronic boxes. The front of the box is stepped to allow boards to be slotted in to bridge the gap and create a flat loading area and bed. The fake wood effect on the caravan grade ply is covered in carbon fibre effect vinyl.
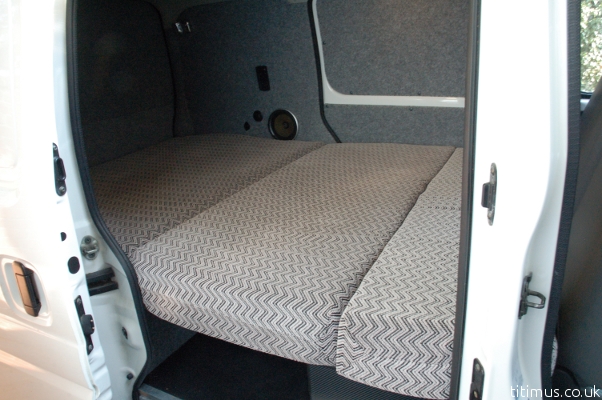
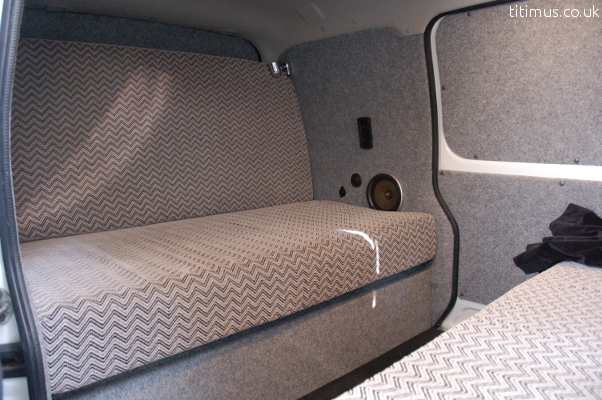
With boards placed in the stepped part of the boxes a flat loading area is created. The boards store under the rear box, accessible through the tailgate. With the cushions in place the rear area is turned into a comfortable double size bed. The cushions are made of memory foam covered in matching material.
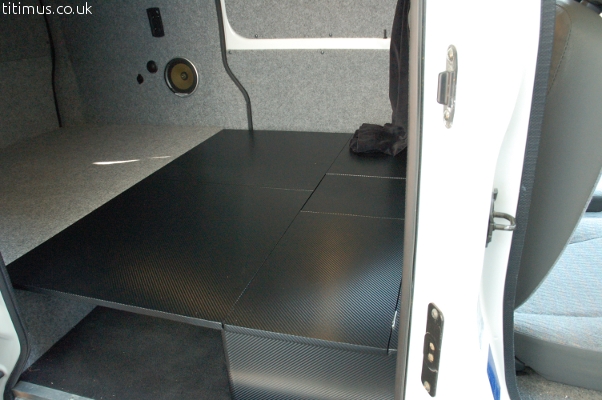
With the boards removed the bed is transformed into seats. 12v power points are fitted on both sides next to the speakers for charging laptops and phones.
Electrics and Power
Two more power points are fitted in the storage box. This centre section also hides the head unit control box and a Raspberry Pi media centre.
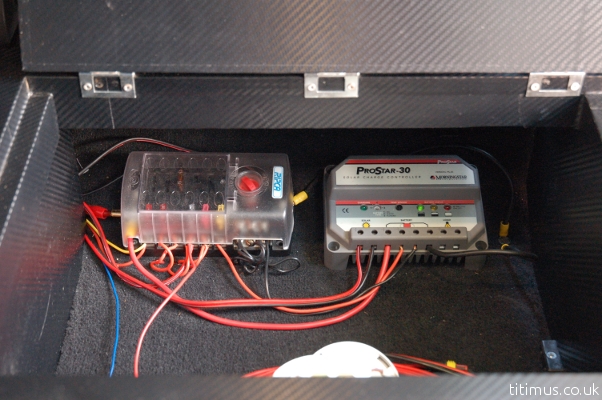
Inside the storage box behind the driver's seat is the fuse box and solar charge regulator. More info on the solar setup can be found in the solar panel article.
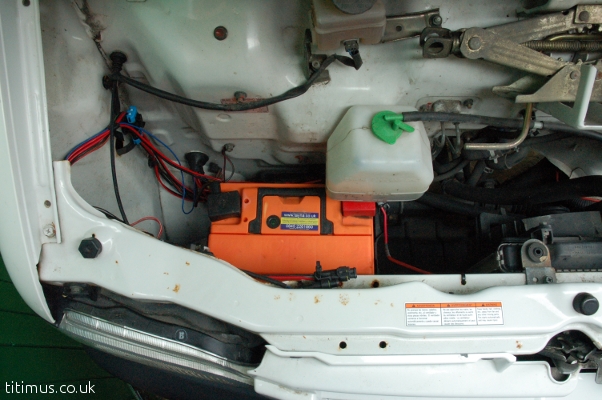
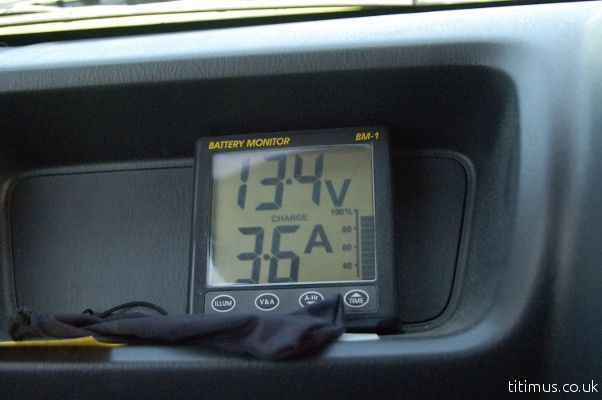
There is no engine under the bonnet of the Carry which leaves ample space for a leisure battery. The battery tray from another vehicle has been repurposed to securely hold the battery in place from the bottom. A Nasa Marine battery monitor is fitted to the passenger side dash which enables monitoring of voltage and current both in and out.
Entertainment
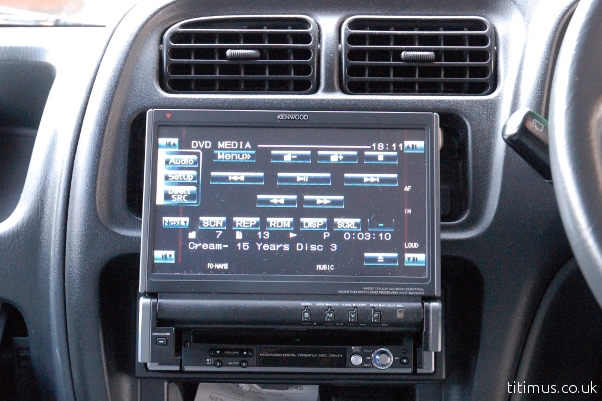
A Kenwood motorised DVD player head unit is installed. This unit plays many media formats including WMV and MP3. By burning MP3s onto a DVD many hours of music can be made available at the touch of a button. There are also auxiliary audio and video inputs for other devices.
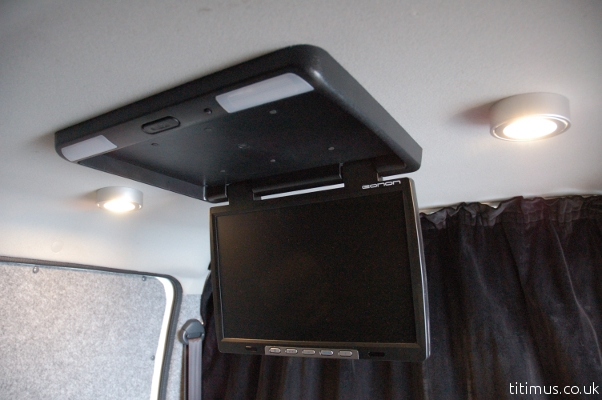
The output of the DVD head unit is wired to the 15" roof mounted flip down LCD screen which allows comfortable viewing from the rear of the van. Built into the monitor are two LED lights which can be handy for low intensity, low powered lighting.
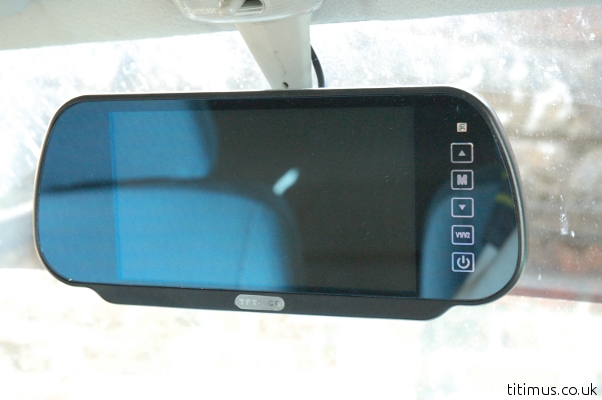
Since the rear windscreen has been covered and insulated a means of rear vision is required, so a 7" LCD monitor is mounted to the rear view mirror. Whilst parked the input can be switched to the DVD player for entertainment.
A Haynes manual is not available for the Suzuki Carry but a digital version of the official Suzuki workshop manual is available on the downloads page.